Table of Contents
Setting the correct timezone in Chattrik ensures that all chat records, analytics, and schedules reflect accurate local time. This is especially important for global teams or businesses serving international customers. By aligning the widget with your local time, you can manage operating hours, agent availability, and reporting more effectively. With an easy setup and quick tips for guidance, Chattrik makes timezone management simple, reliable, and tailored to your business needs.
Step 1: Log in to Your Dashboard
- Log in to your Chattrik dashboard.
- Navigate to Settings and select Account from the menu.
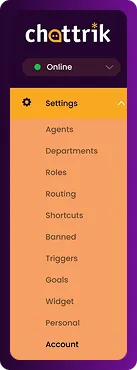
Step 2: Open Timezone tab
- Go to Account → Timezone.
- This tab allows you to configure your preferred time settings.
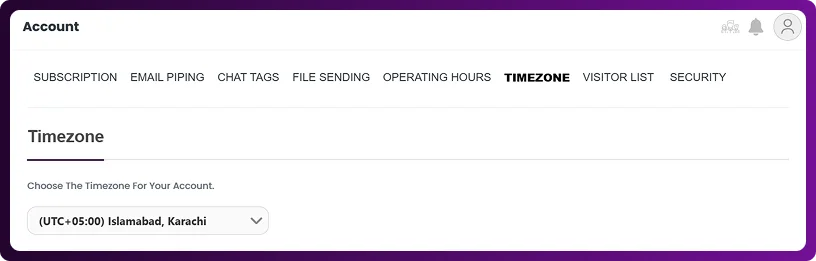
Step 3: Configure Timezone
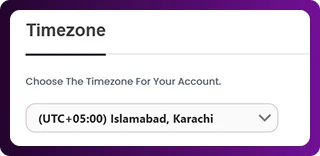
- From the timezone section, select your timezone based on your business location.
- This ensures timestamps match your local operating hours.
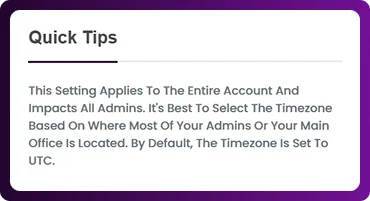
Step 4: Use Quick Tips for Assistance
- On the right side of the screen, you’ll find Quick Tips.
- These provide additional guidance on setting and managing timezones.
Step 5: Save Changes
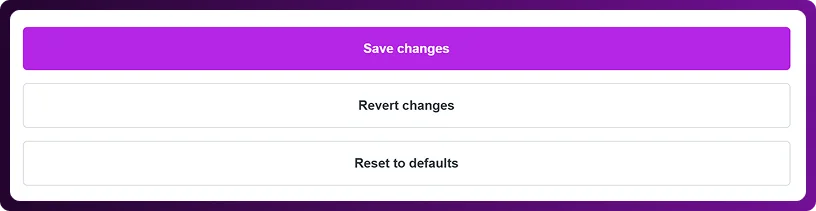
- Once you have set your timezone, click Save Changes.
- Your account will now use the updated timezone across chats and reports.
Frequently Asked Questions
Have questions? We’ve got answers. Here are the most common things people ask about Timezone Management in Chattrik.