Table of Contents
Triggers are powerful automation tools in Chattrik that allow you to interact with visitors at the right time. By creating rules and conditions, you can automatically send targeted messages, offer help, or capture leads without manual effort. Each trigger can be customized with a name, description, frequency, and display settings to match your needs. This feature helps improve efficiency, visitor engagement, and customer satisfaction by ensuring timely, relevant interactions.
Step 1: Log in to Your Dashboard
- Log in to your Chattrik dashboard.
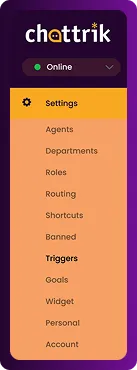
- Navigate to Settings → Triggers from the menu.
Step 2: Overview for New Users
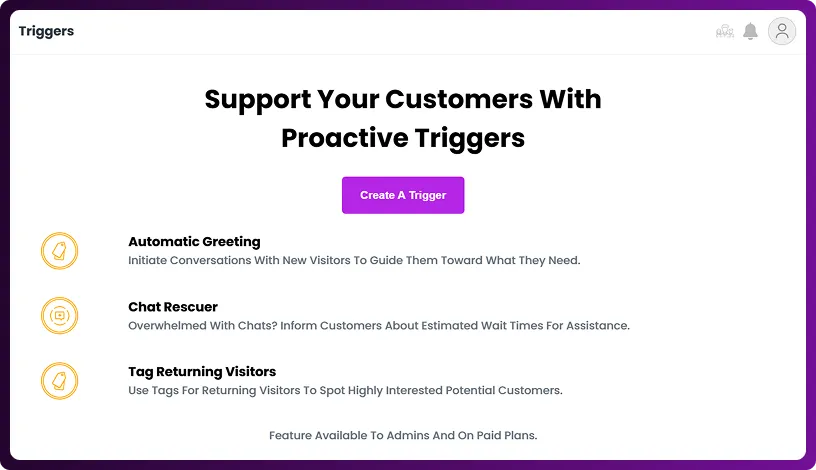
- If you’re a new user, you’ll first see an overview of the Triggers feature.
- To get started, click Create a Trigger.
Step 3: Access Triggers Section
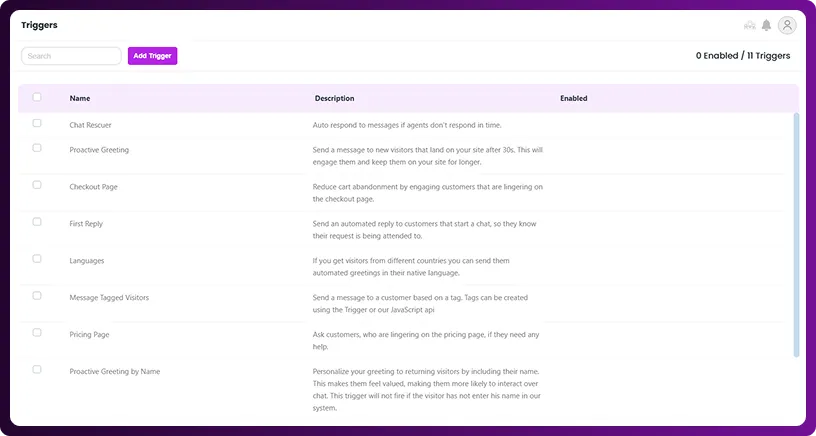
- From the Triggers dashboard, you can manage all existing triggers.
- To add a new one, click on Add Trigger.
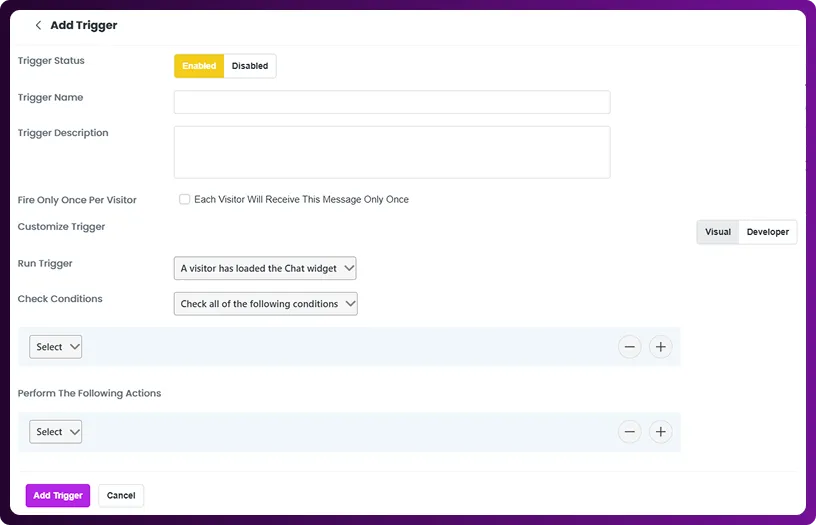
Step 4: Create a Trigger
- Enable or disable the trigger status.
- Add a name and description for identification.
- Decide if visitors should receive it once or multiple times.
- Customize the trigger’s behavior using either visual editor or developer mode.
Step 5: Quick Help
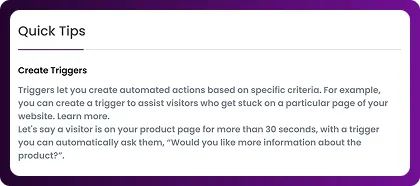
- For guidance, use the Quick Tips section available on the right side of the screen.
Frequently Asked Questions
Have questions? We’ve got answers. Here are the most common things people ask about Chattrik.
A trigger is an automated rule that engages visitors based on conditions, such as time spent on a page or specific actions taken.
Yes, you can create multiple triggers, but ensure they don’t overlap to avoid confusing visitors.
The visual mode allows simple setup, while developer mode offers advanced customization for complex triggers.
Yes, triggers can be enabled, disabled, or deleted anytime from the Triggers section.
No, triggers are lightweight and optimized to run smoothly without slowing down your website.