How To Manage Roles & Permissions

Managing roles and permissions in Chattrik ensures agents have proper access based on responsibilities. Assign roles, customize permissions, and maintain secure, organized team management by following the steps below.

Chattrik’s Roles & Permissions feature gives you complete control over how your team operates within the platform. By creating roles and customizing access, you can ensure that agents only have the tools they need to perform effectively. This not only enhances security but also streamlines workflows by assigning responsibilities based on role. Managing and updating permissions is quick and simple, helping you maintain an organized and efficient support system.

Step 1: Access the Roles Section
  • Log in to your Chattrik dashboard.
  • Navigate to Settings and select Roles.
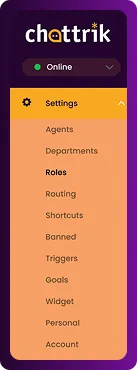
The Chattrik side navigation panel with Roles highlighted under Settings.
Step 2: View Agents and Roles
  • You will see a list of all agents along with their assigned roles. This section gives you an overview of who has access to what.
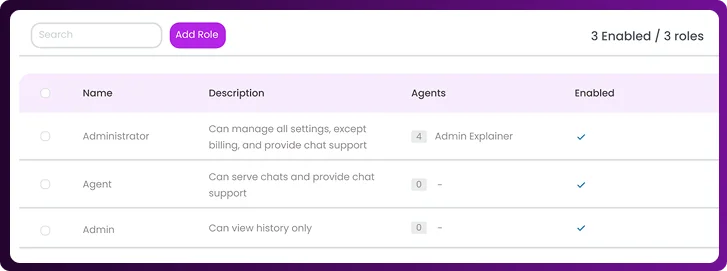
A data table showing existing roles like Administrator, Agent, and Admin with description columns.
Step 3: Add New Roles
  • Click on Add Role to create a new role for agents.
  • You can enable or disable an agent’s access quickly whenever required.
  • Enter the Role Name and Description.
  • Once done, scroll down and click Add Role to save.
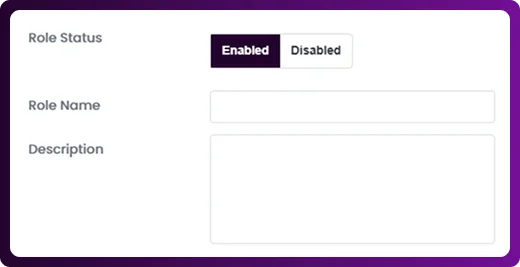
The top fields of the creation screen with configuration text boxes for Role Name and Description.
Step 4: Manage Permissions

Click on an agent’s name to adjust what they can access. You can enable or restrict:

  • Visitors & Chats – control visibility of the visitor list, real-time monitoring, and proactive chat options.
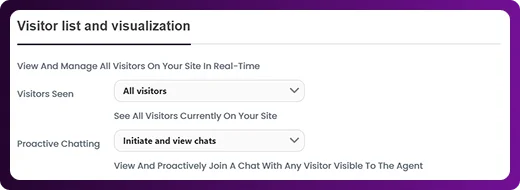
The Visitor List and Visualization card with dropdown settings for proactive chatting permissions.
  • Visitors & UserInfo – allow editing of visitor details, user info, and notes.
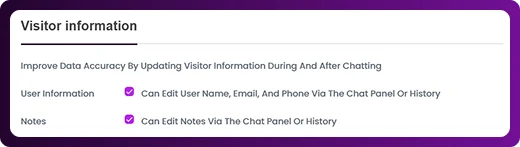
The Visitor Information block showing checked permissions to edit names, emails, and notes.
  • History Access – choose if they can view or tag past chats.
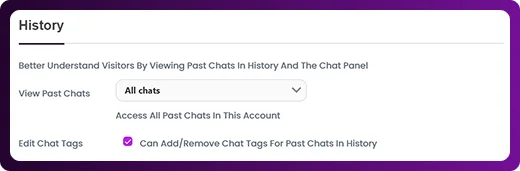
The History configuration panel showing permissions to view past chats and edit chat tags.
  • Visitor Banning – grant rights to block abusive visitors via cookies or IP.
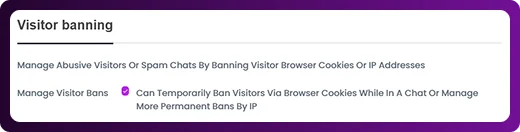
The Visitor Banning settings block with a checked box to manage temporary or permanent bans.
  • Analytics & Reports – decide if they can view performance metrics and email reports.
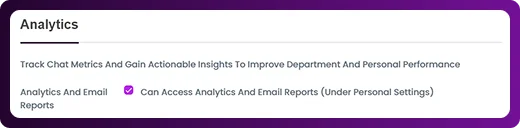
The Analytics permission card showing an active checkbox to access chat metrics and email reports.
  • Monitoring – let them track real-time chat health and agent performance.
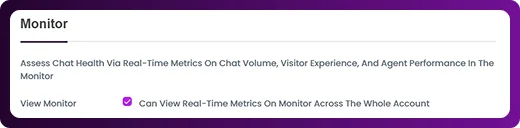
The Monitor card block showing an enabled checkbox for viewing real-time account metrics.
  • Agent Management – control permissions for departments, agent limits, and shifts.
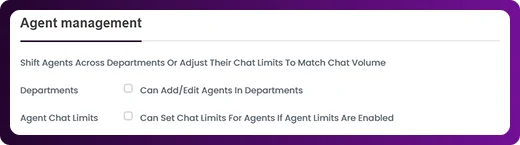
The Agent Management block showing unselected checkboxes for departments and chat limits.
  • Shortcuts – manage access to creating or editing chat shortcuts.
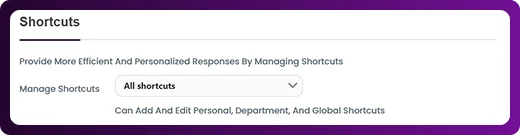
The Shortcuts settings card showing a dropdown option for managing all shortcuts.
Step 5: Quick Tips
  • If you need help, there is a Quick Tips section on the right side of the screen for easy guidance.
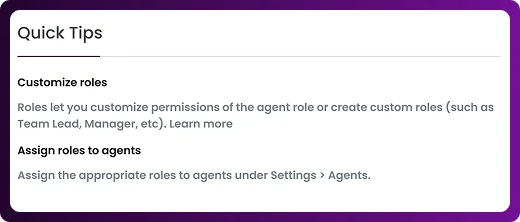
A Quick Tips information card outlining advice for customizing and assigning roles to agents.
Frequently Asked Questions

Have questions? We’ve got answers. Here are the most common things people ask about Chattrik.

Roles define the level of access and responsibilities given to agents, ensuring structured team management.

Yes, you can add custom roles with specific permissions tailored to your business needs.

Click on the agent’s name under the Roles section and update their permissions as needed.

Yes, you can disable an agent or update/remove their assigned role anytime through the Roles section.

Permissions ensure agents only access tools relevant to their work, improving efficiency and maintaining account security.
WhatsApp Chat